Optical Illusion Tattoos: The Complete Guide
Tattoos that trick the eye: impossible geometry, 3D cubes and holes, rippling patterns and double images that move, flip or deepen as you look.
Optical illusion tattoos are built on the drawing tricks of op art and M.C. Escher: geometry that cannot exist, cubes that flip inside out, skin that appears to open onto machinery or sky, patterns that ripple when you move your eyes. The tattoo does not merely depict something — it does something to the viewer, which is why illusion pieces stop people mid-scroll and mid-sidewalk.
The style divides into families: impossible objects (Penrose triangles, infinite stairs), 3D effects (cubes, spheres and holes shaded to sit on or in the body), pattern fields (waves, moiré, warp grids), and double images (the face that is also a vase, the skull inside the butterfly).
Optical Illusion at a glance
| Line weight | Bold, clean lines with exact geometry and one consistent light source |
|---|---|
| Palette | Often black only; color used as an extra trick when present |
| How it ages | Bold-lined tricks keep working; shading-based 3D loses depth first |
| Best placements | Forearm, calf, shoulder, upper arm, chest and back, on flatter skin |
| Minimum size | 3 inches and up; pattern fields need more room to establish rhythm |
How Optical Illusion designs are drawn
An illusion design is engineering wearing art's clothes. The geometry must be exact — an impossible cube with one angle off is just a broken cube — and the shading must obey a single consistent light source or the 3D effect collapses. Line work is typically bold and clean, color either absent or used as one more trick (a red that advances, a blue that recedes). The drawing is done flat, but it is designed for a specific body geometry: the best illusion pieces use the limb itself as part of the trick.
Best placements for Optical Illusion tattoos
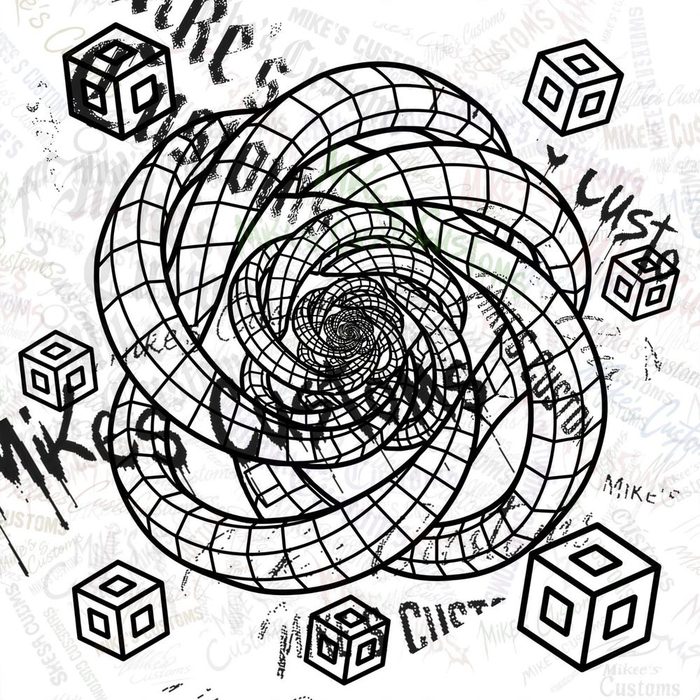
Flatter, broader skin keeps illusions honest: forearms, calves, shoulders, upper arms, chest and back. Wrapping an illusion around a sharply curving area can either destroy it or — if the design was drawn for that curve — supercharge it, like a warp grid flowing over a shoulder. Talk placement with the design in hand; illusion is the style where "where exactly?" changes the drawing itself.
Illusion placement has a viewing-distance problem other styles do not. A 3D hole or impossible object needs to be seen from roughly arm's length or farther to trigger properly, so placements the wearer mostly sees up close and at an angle, such as their own inner wrist, can delight everyone except the owner. Forearms and calves are popular partly because other people read them at exactly the right distance and angle. Pieces designed for the wearer's own viewing, a pattern on the top of the forearm or the front of the shin, should be oriented for the wearer's eyes, not for a photograph. Curvature can be used deliberately: a warp grid drawn for the shoulder ball deepens as the arm moves, and a spiral centered on the elbow changes with the bend, but these effects must be engineered from measurements of that body, not hoped for from a flat design. Skin with heavy scarring, moles or strong texture inside the field breaks a shading-based illusion at those points, so the design should route its critical geometry around them or choose a bolder pattern family instead.
How big does a Optical Illusion tattoo need to be?
Illusion needs the viewer's eye to have room to be fooled: most pieces want three inches and up, and pattern fields want more so the repeat can establish its rhythm before it warps. Tiny illusions read as ordinary small tattoos — the trick needs scale to trigger. 3D holes and objects especially gain from size, since their shading gradients need distance to blend.
How Optical Illusion tattoos age
Illusions age on their geometry: as lines soften slightly, a precision trick can lose a degree of its snap, though a well-built one keeps working — the brain completes the effect generously. Bold-lined illusions outlast hairline ones; shading-based 3D softens fastest and may want a refresh to restore the depth. Choose designs whose trick survives a little softness — the great ones do.
Making an illusion survive healing is about choosing the right family for the skin and the years ahead. Bold geometric and impossible-object pieces, carried by clean black linework and flat contrast, keep their trick with ordinary care and are the safest choice for a first illusion. Shading-built 3D, the holes, spheres and skin-opening effects, depends on smooth gradients that soften fastest on mobile or sun-exposed skin, and those pieces should be budgeted with a depth-restoring refresh in mind from the start. During the session, expect the artist to step back constantly and check the piece from several feet away and in a mirror; an illusion that only works in a close-up photograph has failed its purpose, and that checking time is the work, not a delay. Healing must protect the gradients: a scuffed patch in the middle of a shaded sphere reads as a dent in the object itself. Illusion suits people who enjoy the interaction, being stopped and asked about the piece is part of the point. It does not suit anyone wanting a private, subtle tattoo, a tiny version of a famous impossible object, or a design expected to work from every angle on a sharply wrapping placement.
Choosing a Optical Illusion design
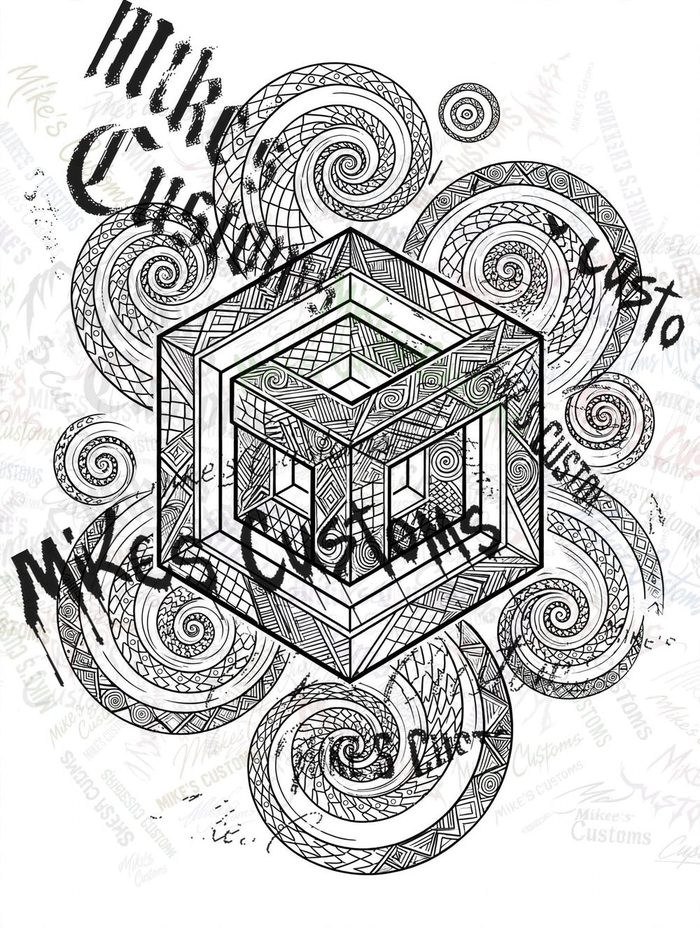
In our gallery, illusion designs state the flat area they were drawn for. If you have a specific curve in mind — over the shoulder, around the calf — a custom order lets us draw the warp to your body's actual geometry, which is when this style goes from clever to uncanny.
Browse Optical Illusion designs Order a custom Optical Illusion design
Related style guides
- American Traditional (Old School) — The original American tattoo style: bold black outlines, a tight palette of red, green, yellow and brown, and imagery — eagles, anchors, swallows, daggers, roses — built to stay readable for a lifetime.
- Neo-Traditional — Traditional tattooing grown up: the same bold bones, but with a wider palette, softer shading, decorative detail and subjects that range from foxes and owls to full illustrated scenes.
- Japanese (Irezumi) — Centuries-old Japanese tattooing: dragons, koi, tigers, peonies and waves composed as full-body storytelling, with wind bars, clouds and water binding every element together.
New to all of this? Start with how to choose a tattoo design that ages well, then the complete aftercare guide for what happens after the appointment.